

Notes
Use a spatula with a thin edge to flip the crepes. Since crepes are fairly delicate, a thicker or studier spatula may break them. I like to use a flexible spatula or fish spatula. If you don’t have either, try lifting up the edge with an offset spatula before sliding a larger one underneath to flip it.
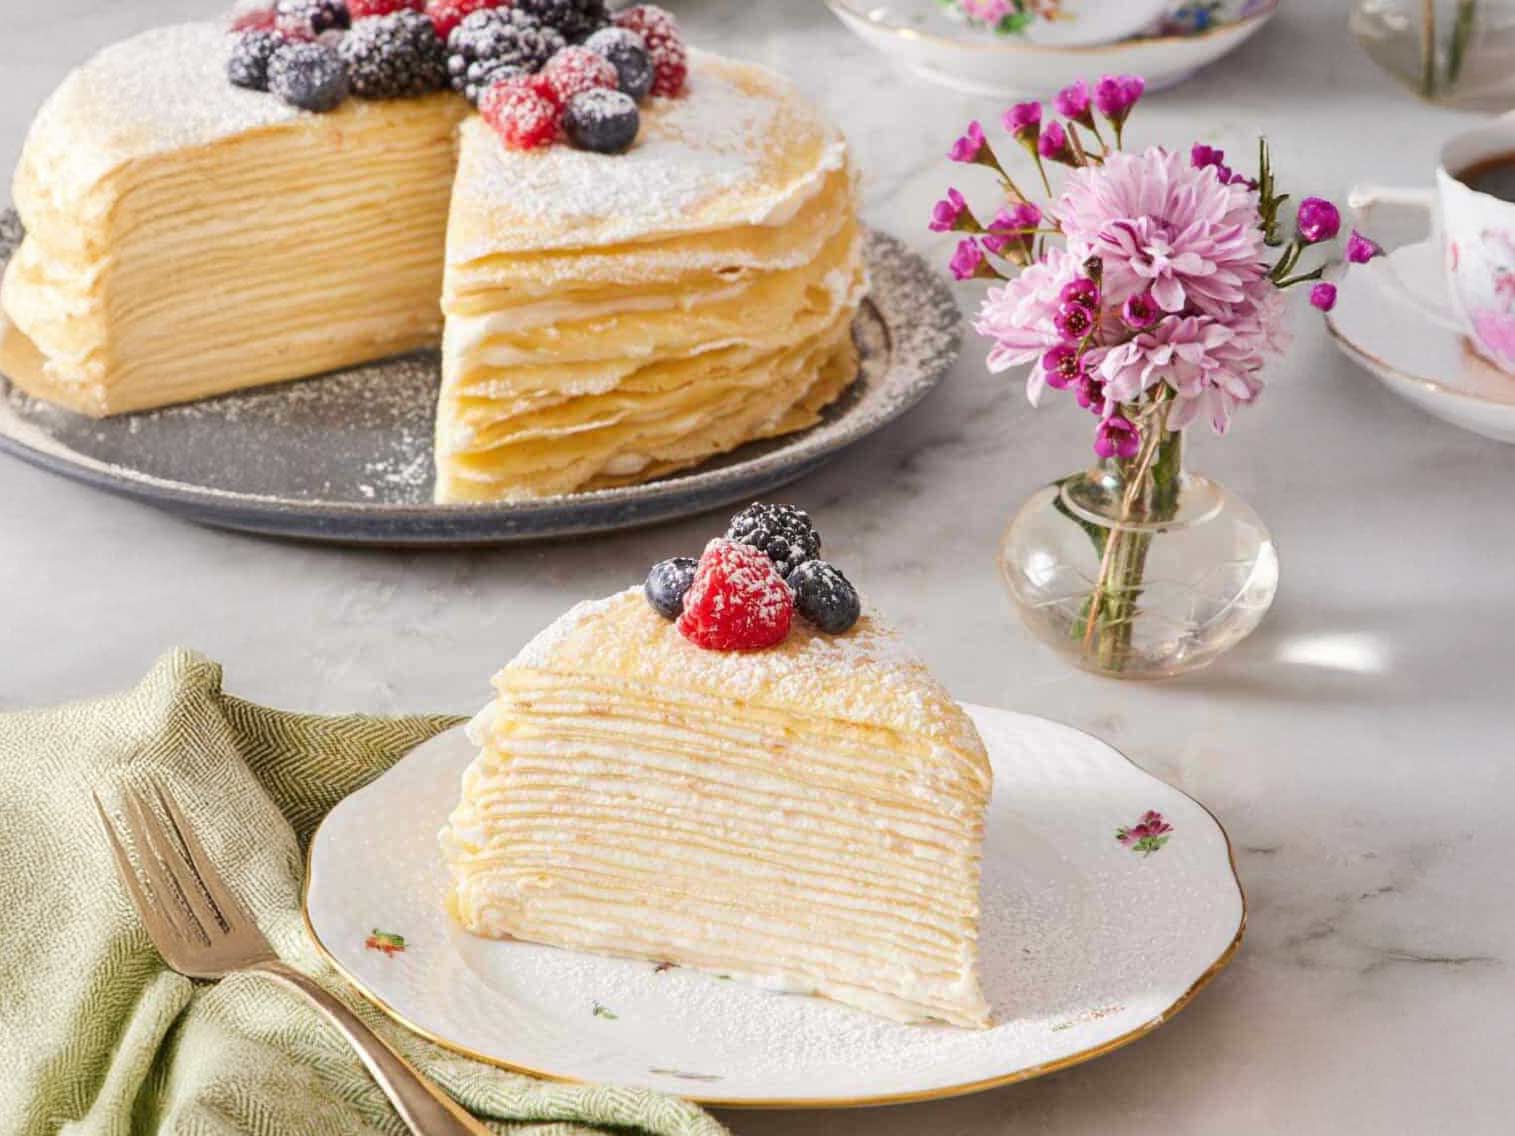
I used 24 crepes for my cake! Depending on the size of your skillet, you may have more or fewer layers. Just build the cake layers until one or the other runs out. If you have extra filling, pile up the remaining on top of the cake! Any extra crepes can be enjoyed as a delicious snack or breakfast.
Use cold ingredients for the filling. Using cold cheeses and heavy cream helps create a more stable filling that won’t run between the crepes. A sturdier filling will also help prevent the crepes from sliding.
Tips
Use a skillet with a smaller base: I prefer to use a skillet that has a 9-inch diameter cooking surface at the base. (This will likely be a 10-inch skillet if your sides slope or angle in at all.) A frying pan that is 8 inches in diameter at the base will also work. However, you may need to add slightly less batter to the pan for each crepe (about 3 tablespoons instead of ¼ cup), and it will yield a few more crepes.
Use a measuring scoop to portion the batter: This ensures that all the crepes are the same size. To have enough batter to coat the bottom of a 9-inch skillet, each crepe should use a scant ¼ cup. Fill a ¼ cup measuring scoop until it’s just barely full.
Immediately fill any gaps in the crepe with more batter: While swirling the crepe batter to cover the bottom of the pan, if any small holes remain, quickly drizzle a small amount of batter to fill them. Don’t worry if the crepes are a little bit bumpy! It’s all getting covered with whipped filling.
Adjust stove temperature: The first crepe or first few crepes may take longer to cook than the rest of them. Adjust the stove temperature and cook time as needed. Look for a light golden brown color before flipping the crepes.
Leave a Reply